To fix misspelled labels in AI-generated product graphics, edit the affected text locally or replace it with editable typography. Regenerating the entire image risks changing a product you already approved.
AI image text rendering can produce convincing lettering without preserving every character. For commercial graphics, I recommend separating visual generation from final copy approval rather than treating an attractive image as a finished asset.
Start by identifying whether the problem needs a small repair, a reconstructed label, or conventional typesetting.
Key Takeaways
- Use a localized edit when one short label is wrong and the surrounding product already looks correct. Preserve the original image so you can compare changes.
- Replace dense packaging copy, exact brand typography, and frequently updated text with editable type. A correct-looking raster image offers less control than a maintained design file.
- Review the exported graphic at its actual display size. Spelling, product details, and legibility need separate checks because a visually polished result can still communicate the wrong information.
My recommendation is to choose the method that gives you control over the final wording, even when that means leaving the image generator.
Why AI Image Text Rendering Still Needs Cleanup
Generated Lettering Is Usually Part of the Picture
An image generator typically produces lettering as visual content within an image. That doesn’t automatically create a text object you can select, spell-check, and revise.
Some products add text-detection or layer-extraction features afterward. Those features matter because they change the correction workflow. However, ordinary image editing and editable typography remain different capabilities.
OpenAI’s image generation announcement documents generation and editing through its image API. Those capabilities don’t establish that every generated label will contain accurate copy.
Packaging Adds More Than a Spelling Problem
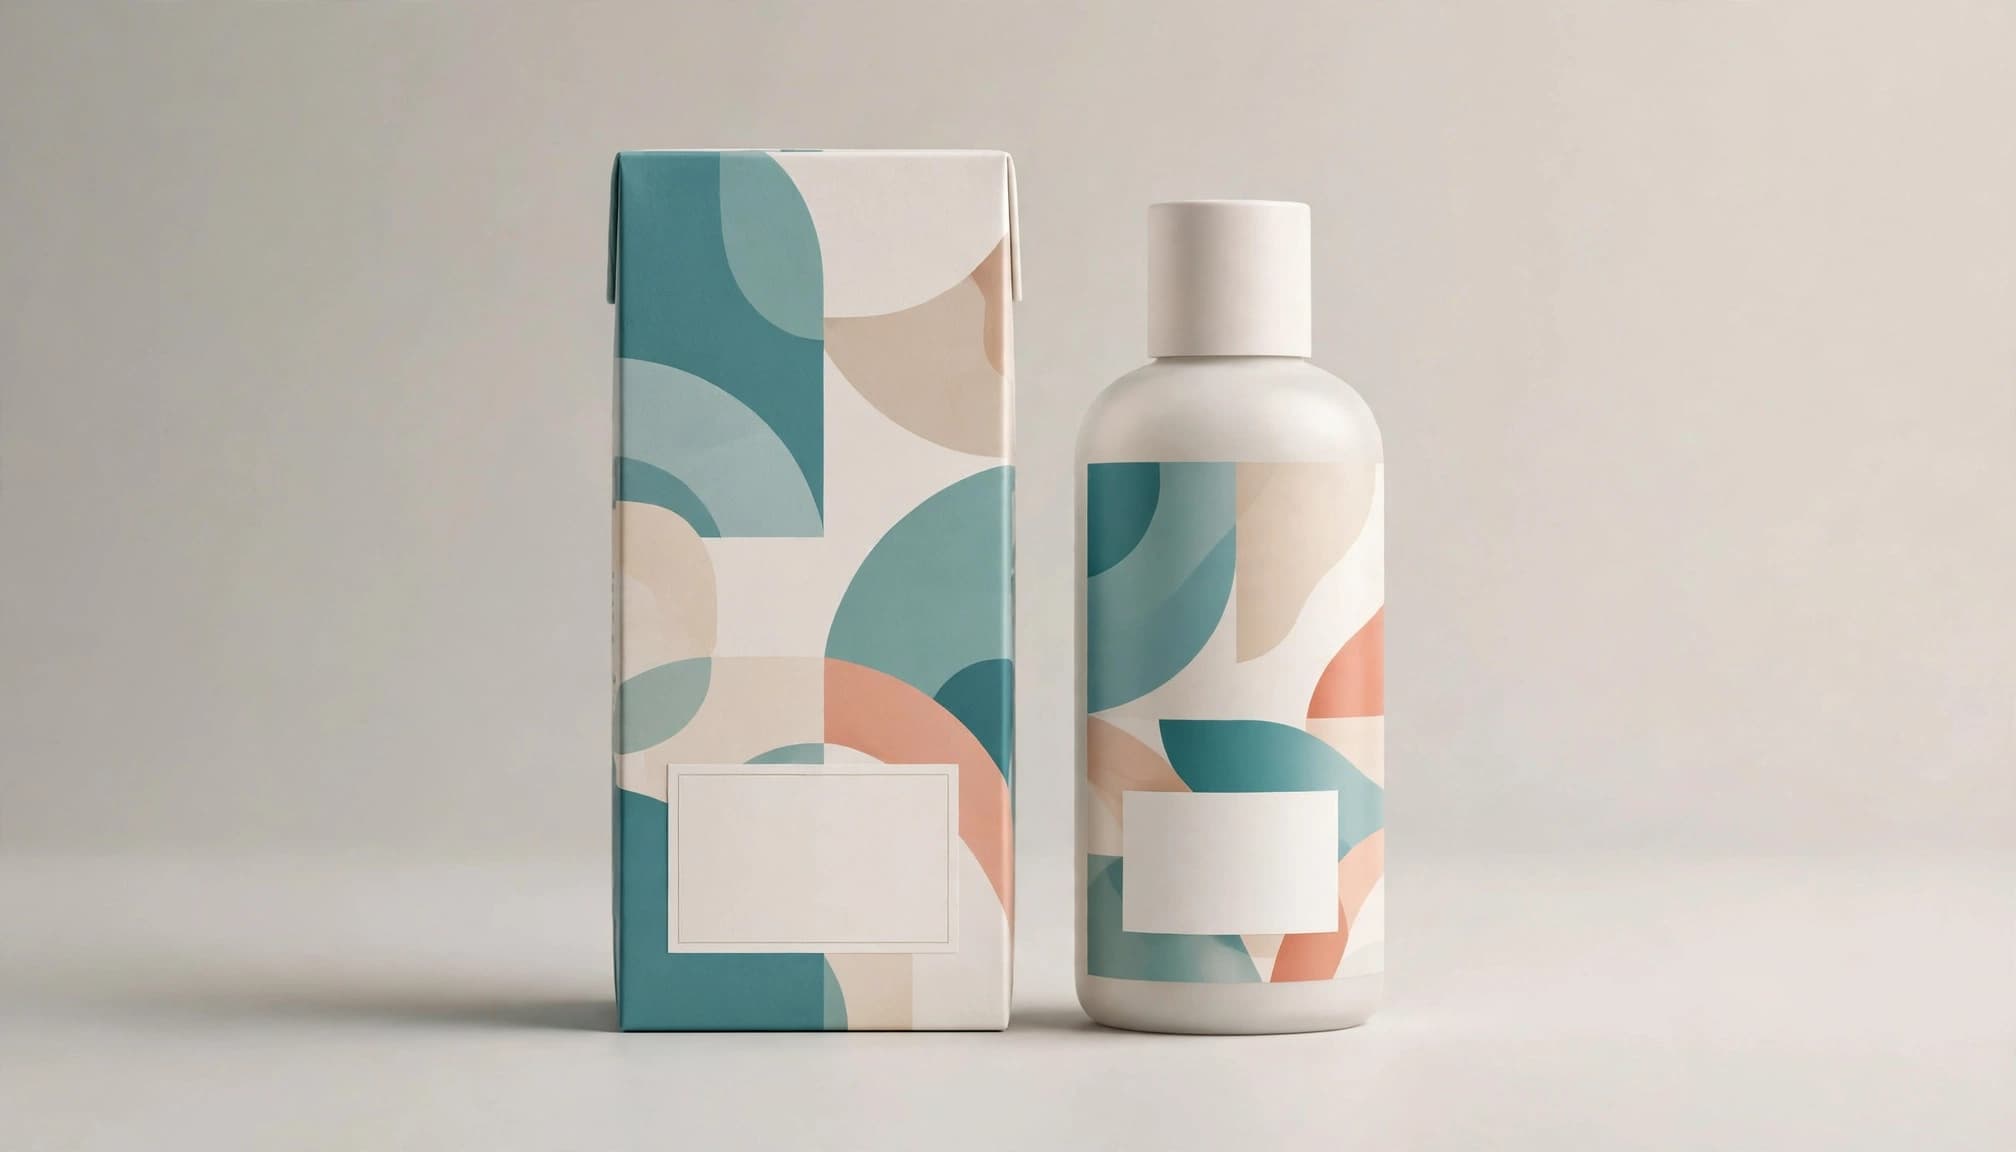
Product labels combine wording with perspective, surface texture, reflections, and sometimes curvature. Replacing letters on a flat carton is different from correcting text wrapped around a glossy bottle.
Meanwhile, a repair can fix spelling but damage the product silhouette or invent another line of copy. I judge a correction against both the approved wording and the original product appearance.
Our Leonardo AI product mockup guide addresses the same production distinction: generating a packaging concept doesn’t remove the need for final typography.
Choose the Smallest Reliable Fix
Before editing, decide which parts of the graphic must remain untouched. A single misspelled badge rarely justifies recreating the background, lighting, and product.
The following comparison separates common repair methods by the control they provide.
| Problem | Recommended Method | Main Trade-Off |
|---|---|---|
| One clear, horizontal text line | Dedicated text editing | Detection and style matching have limits |
| Localized lettering defect | Masked image edit | Nearby pixels may also change |
| Exact brand wording or repeated revisions | Editable typography | Requires layout and surface matching |
| Dense or regulated packaging copy | Approved label artwork | More preparation, less generative freedom |
For production work, I favor the least generative method that solves the problem. A localized correction makes sense when the label remains simple. Conventional type becomes more attractive as exactness and revision requirements increase.
Also distinguish a concept mockup from a product listing. Concept art can communicate a design direction. A listing image needs to describe the product accurately, including any visible size, variant, or product claims.
Prepare the Label Before Editing
Establish the Approved Copy
Start with the source wording, not a transcription of the generated image. Use the approved packaging file, product information, or campaign copy as your reference.
Record capitalization, punctuation, units, and line breaks. Brand styling can intentionally differ from dictionary spelling, so automated correction alone isn’t enough.
For a product family, keep each variant’s wording separate. Otherwise, a visually convincing repair can put the right words on the wrong item.
I also recommend retaining the untouched image and making corrections on a duplicate. That gives you a clear comparison when an editor changes more than requested.
Assess the Surface and Resolution
Inspect whether the text sits on a flat panel, a curved surface, or a partly obscured area. Reflections and strong perspective make style matching harder.
Then assess the actual source resolution. If the lettering contains too few usable pixels, enlargement won’t recover an authoritative version of the wording. You may need to rebuild that label area.
When possible, work before the final crop and downsampling. This preserves room for alignment adjustments and avoids repeated compression.
Keep nearby graphics visible as context, but don’t include unrelated regions in a repair selection.
Write a Targeted Text-Repair Prompt
A useful repair prompt identifies the exact replacement and the boundaries of the change. Broad instructions such as “fix the label” leave too much interpretation.
For an image containing a standard storage instruction, a proposed prompt could read:
Replace only the selected label text with “Keep Refrigerated”. Show that phrase once. Preserve the product shape, label border, background, lighting, and all unselected artwork. Add no other words.
This is an editing instruction, not evidence of a tested result. I would use it as a starting point, then judge the output against the source image.
Quotation marks help separate literal copy from descriptive instructions. Specifying the number of appearances also reduces ambiguity when the composition contains repeated packaging.
However, avoid loading the same request with a new camera angle or material change. Each additional change makes it harder to isolate the correction.
Our guide to refining image prompts covers broader prompt discipline. Here, the important principle is narrower: change the wording while protecting everything already approved.
A higher quality setting may improve visible detail, but it isn’t a spelling guarantee. More detailed incorrect text still needs correction.
Repair Detected Text With Adobe Firefly
Use the Dedicated Text Workflow
Adobe’s documented Firefly Edit text workflow scans an image and places dotted boxes around detected text. You can edit or delete text one line at a time, then apply the change to generate a revised image.
Adobe says the feature attempts to match the original font and style while limiting composition changes. I treat that as a stated objective, not a guarantee of exact font reconstruction.
For a short, clear label, this can be more direct than describing a repair through a general image prompt. Compare the replacement’s width, spacing, and baseline as well as its spelling.
Respect the Detection Limits
Adobe documents limitations involving non-Latin scripts, emojis, rotated or skewed text, heavily stylized lettering, and overlapping characters. Clear, horizontal Latin-character text fits the documented workflow more closely.
Therefore, a curved bottle label or decorative wordmark may require another method even when the wording is short.
Firefly Boards has a separate Generative Text Edit workflow. It treats text sharing a baseline as one editable line, which matters when several words form a single label.
Neither workflow should be assumed to deliver a fully reconstructed, reusable typography file. If you need ongoing wording changes, choose a method that explicitly preserves editable text.
Repair the Label Without Rebuilding the Graphic
When text detection fails, a masked edit can target the defective region. This works best when the surrounding material provides enough context for a plausible repair.
I recommend this sequence:
- Duplicate the image and isolate the incorrect lettering. Keep the selection away from product edges and neighboring label elements where possible.
- Include enough surrounding material to reconstruct the surface naturally. A selection that clips shadows or borders can create an obvious patch.
- Request one correction, with explicit instructions to preserve unselected content. If replacement text repeatedly fails, remove the lettering and create a clean area for conventional type.
- Compare the revised region with the original at matching zoom levels. Reject changes to product geometry or other visible information.
For an API implementation, OpenAI’s documented client.images.edit workflow supports image editing. Its mask guidance describes a transparent PNG overlay matching the original image’s pixel dimensions. Mask conventions vary between tools, so don’t transfer one editor’s selection behavior to another.
The important limitation is that localized editing still generates pixels. It can repair a surface without delivering dependable typography.
Our OpenArt editing feature review discusses inpainting as a repair tool, rather than a reason to reroll an otherwise usable image.
Add Exact Copy as Editable Typography
Use a Design App for Revision Control
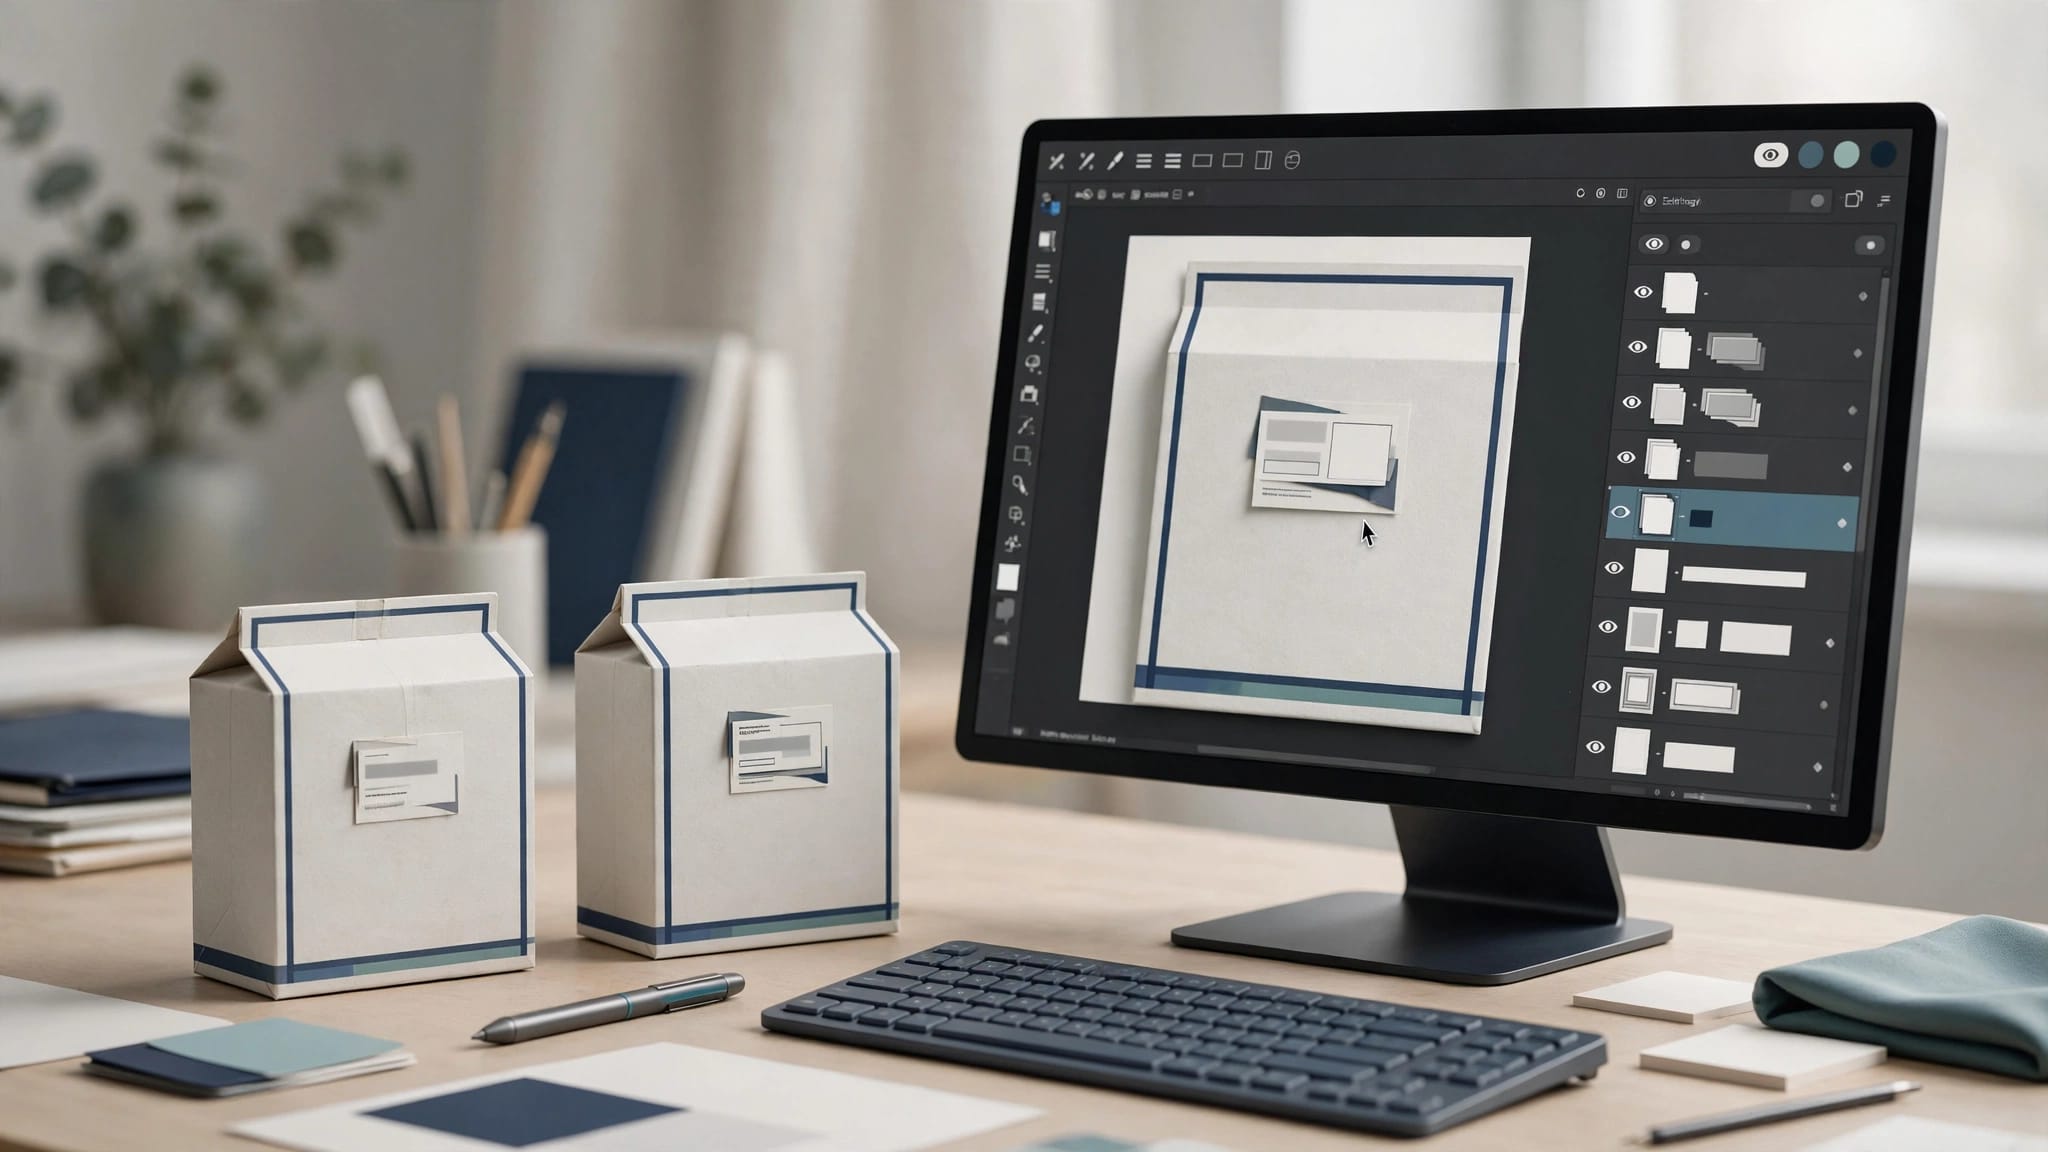
For exact product names, prices, or recurring campaign variants, I recommend placing the copy in Photoshop, Illustrator, Figma, or Canva. The appropriate choice depends on whether you need surface compositing, vector artwork, or template-based production.
Keep text editable in the working file. That allows deliberate changes to spelling, font, tracking, and line breaks without asking an image model to redraw them.
Ideogram’s official platform offers image generation and editing. Its documented Layerize Text capability also extracts text into editable layers, providing a different route from repeated regeneration. That distinction matters more than a broad claim about attractive lettering.
Match the Product Surface
First remove the incorrect lettering or cover it with a reconstructed label background. Adding correct words directly over defective text often leaves visible fragments.
Then match perspective and scale. A label on an angled carton needs alignment with the carton face. A cylindrical container may require a warp rather than a simple rotation.
Finally, restore the surface cues that cross the lettering. Highlights and texture affect whether the replacement appears printed on the package or pasted over the image.
For finished packaging artwork, place the approved label as a complete asset when practical. Rebuilding individual lines introduces unnecessary opportunities for inconsistency.
Quality-Check the Final Export
Separate Copy Review From Visual Review
Read every visible word against the approved source. Don’t review only the area you intended to change because generative edits can affect neighboring details.
Pay particular attention to similar characters: 0 and O, or 1, I, and l. Units also deserve a separate pass. Confusing mg with g changes meaning even when the label looks clean.
OCR can help identify possible mismatches, but I wouldn’t use it as final approval. The same styling that makes a label difficult for an editor can also complicate recognition.
For consequential product information, assign a human reviewer who has access to the approved wording.
Inspect the Delivered Size
Next inspect the graphic at the size your audience will see. A label that reads well when enlarged may collapse inside an ecommerce thumbnail.
Look for halos around replacement letters, inconsistent sharpness, and text that appears flatter than the surrounding surface. Also inspect reflections and label borders for damage.
Export a copy, reopen it, and review that file. Compression, resizing, and color conversion can change the appearance after the working document looks correct.
Preserve a layered master separately. Flattened delivery files are useful for publishing, but poor starting points for the next revision.
Build Repeatable Campaign Variations
A repaired graphic solves one asset. A repeatable workflow needs an approved reference image, a maintained copy source, and clear ownership of final approval.
I recommend keeping product imagery separate from changeable campaign text. Headlines, promotional prices, and localized wording usually belong in layout templates rather than permanently inside generated pixels.
This separation also makes review more precise. A designer can assess visual consistency while a product owner approves factual content.
For multiple formats, review each crop rather than assuming one approval covers every export. A vertical placement can hide a label that remains visible in a square design.
Our brand-consistent AI marketing workflow expands on maintaining references and human review across campaign assets.
Measure editing burden alongside generation cost. Record rejected outputs, correction time, and review rounds. I wouldn’t claim a workflow saves money based only on how quickly it produces the first image.
Also keep rights and permissions separate from visual approval. Correct spelling doesn’t establish permission to use a font, logo, reference image, or generated asset commercially.
Related Production Workflows to Develop
Once label correction is under control, three related workflows deserve attention:
- Build an editable product-graphic template that separates approved imagery, brand typography, and promotional copy.
- Create a localization process for packaging mockups that preserves product identity while accommodating different scripts and text lengths.
- Develop a batch-review process that compares generated product graphics with approved references before publication.
These are useful follow-up projects because each addresses a different production burden: repeated revisions, language changes, or review at scale. None depends on treating a single successful generation as proof of reliable performance.
Frequently Asked Questions
Can AI Correct Misspelled Text Without Changing the Image?
A dedicated text editor or localized image edit can reduce unwanted changes, but generative correction doesn’t guarantee pixel-perfect preservation. I recommend editable typography when exact wording and stable surrounding artwork matter more than automated style matching.
Which Method Works Best for Curved Labels?
For a curved label, approved artwork composited onto the product offers stronger wording control than repeated text generation. The trade-off is surface matching: you may need perspective adjustment, warping, and careful treatment of highlights. Dedicated text detection can struggle with skewed or heavily stylized lettering.
Does Higher Resolution Fix Incorrect Letters?
No. Higher resolution can improve how much detail you can inspect, but it doesn’t establish that the wording is correct. Correct the source text before final export. Upscaling a misspelled word can preserve or embellish the error.
Should Product Labels Be Generated Blank?
For a planned hybrid workflow, blank label areas can simplify later typesetting. However, keep the product’s shape and label placement accurate. If you already have approved packaging photography, preserving that source may be more appropriate than generating a replacement package.
Put Final Copy Under Human Control
AI image text rendering is useful for visual exploration, but product graphics need a dependable path to exact wording. I recommend localized repair for simple defects and editable typography for copy that must remain precise.
Preserve the approved product, compare every correction against the source, and review the exported file at its intended size. A finished graphic needs both accurate information and convincing presentation.
Choose the correction method that makes the next revision manageable, not merely the first repair possible.