You want one all-in-one AI art platform for images, videos, characters, and voice using generative AI technologies, not five subscriptions and a pile of tabs. That is the pitch for OpenArt AI. In practice, most “all in one” tools slow you down or send you back to single-purpose AI tools. After an extended stress test across real projects, here is what actually works, where it shines, and when you should choose a competitor instead.
If you care about production-ready output, you will find a lot to like here. You can tap top models like Google Veo 3 for video and Kling for short social clips, generate on-brand images with premium art models, keep characters consistent across scenes, and export in high resolution. You can even add lip sync and voiceovers without leaving the platform.
Curious how this compares with your current stack of tools? Let’s break it down.
What OpenArt AI Tries To Replace
OpenArt AI brings several workflows into one subscription:
- Video generation: text to video, image to video, and multi-element animation
- Audio helpers: video upscaling, lip sync, and a separate voiceover studio
- Image generation: text-to-image AI with multiple models, prompt tools, and batch output
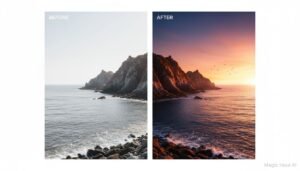
- Image editing tools: inpainting, object removal, face edits, and upscaling
- Character system: consistent characters, pose control, and scene prompts
If you have relied on point solutions for each step, you probably know the drill. Generate on one site, download, upload into another tool, repeat. It aims to be your single workspace so you can move from idea to export without jumping platforms.
For a quick scan of top AI image generator tools by category, you can also review the Best AI image generators for 2025.
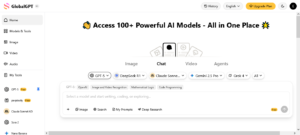
Getting Around The Interface
In OpenArt, the left sidebar is your control center. You select Video, Image, Character, or Audio, then pick the model and set parameters per job. Each model has its own settings, which matters more than it sounds, as these fine-tuned models enable specific controls tailored to your needs.
- Some video models expose resolution and audio toggles.
- Others let you set duration, quality tiers, and frame rate.
- Image models vary widely in prompt adherence and style controls.
You can swap models in a click. You do not need separate logins, which is a real time saver.
Video Creation: From Prompt To 4K
OpenArt’s video workflow covers four core use cases.
1) Text to Video
When you choose Google Veo 3, you get realistic, cinematic results for scenes, people, and motion in animated AI videos. You can:
- Turn audio on or off
- Pick video mode and resolution
- Enhance your prompt automatically
The standout here is Auto-Enhance. It rewrites your prompt for clarity and detail, which helps if you do not want to tweak phrasing for every run. If you start with a solid idea, Auto-Enhance usually gets you cleaner results with fewer retries.
2) Image to Video
Switch to Kling when you want bold, high-energy motion from a single image, powered by diffusion models. You can set:
- Quality mode, which affects detail and render time
- Duration, like a 5-second social clip for AI-driven short animations
- Style, depending on the model’s strengths
Veo 3 tends to feel cinematic. Kling pops on mobile and feels punchier for short-form content. Picking the model by output style is the smarter move.
3) Element to Video
You can upload up to seven images and the tool will animate them into a single video. If you tell visual stories with static assets, this can produce fun sequences. It is not the feature you will use daily, but it can create surprising transitions when you want a different look.
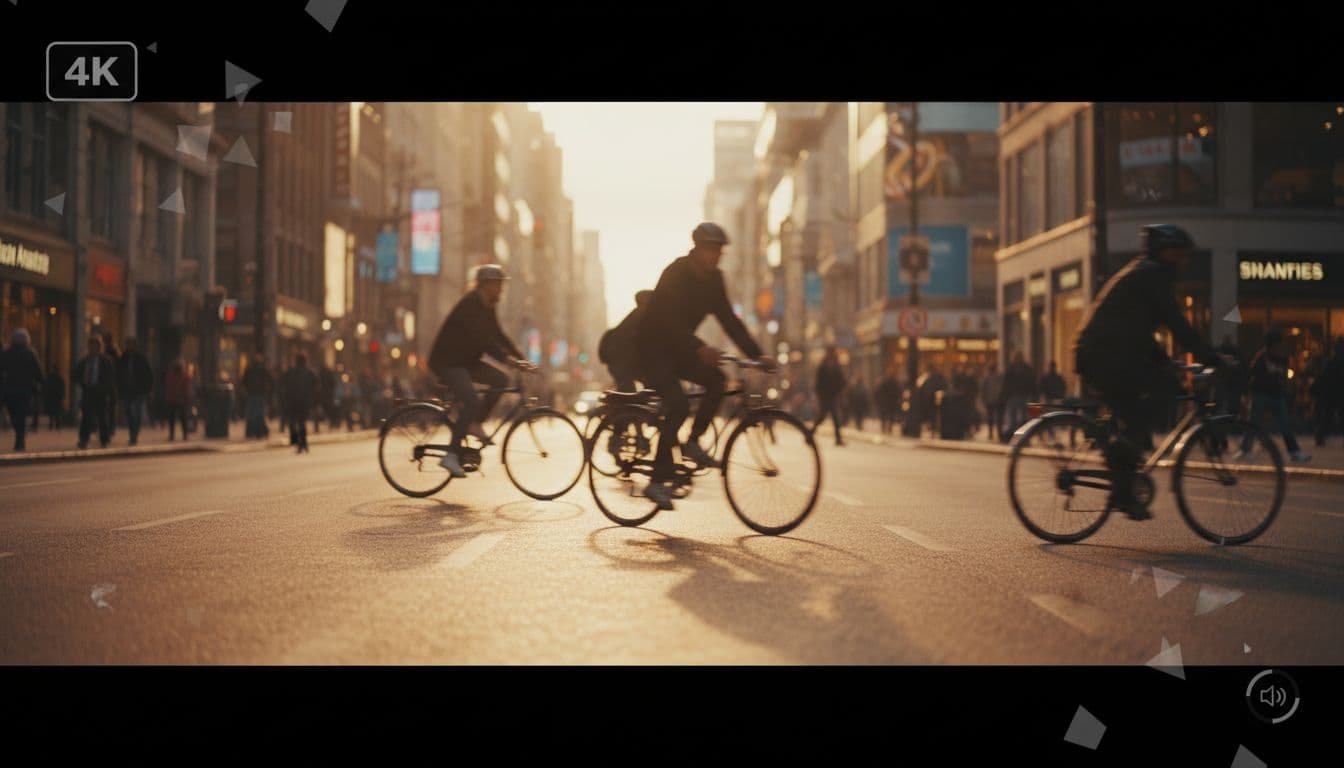
4) Upscale and Lip Sync
The tool can upscale to 4K and push refresh rates up to 120 fps. If you plan to publish rather than tinker, this matters a lot. You can also add lip sync from a voice track to a generated character. Upload a voice file, and the tool syncs mouth movement to your audio. It is simple and effective for explainer scenes and character intros.
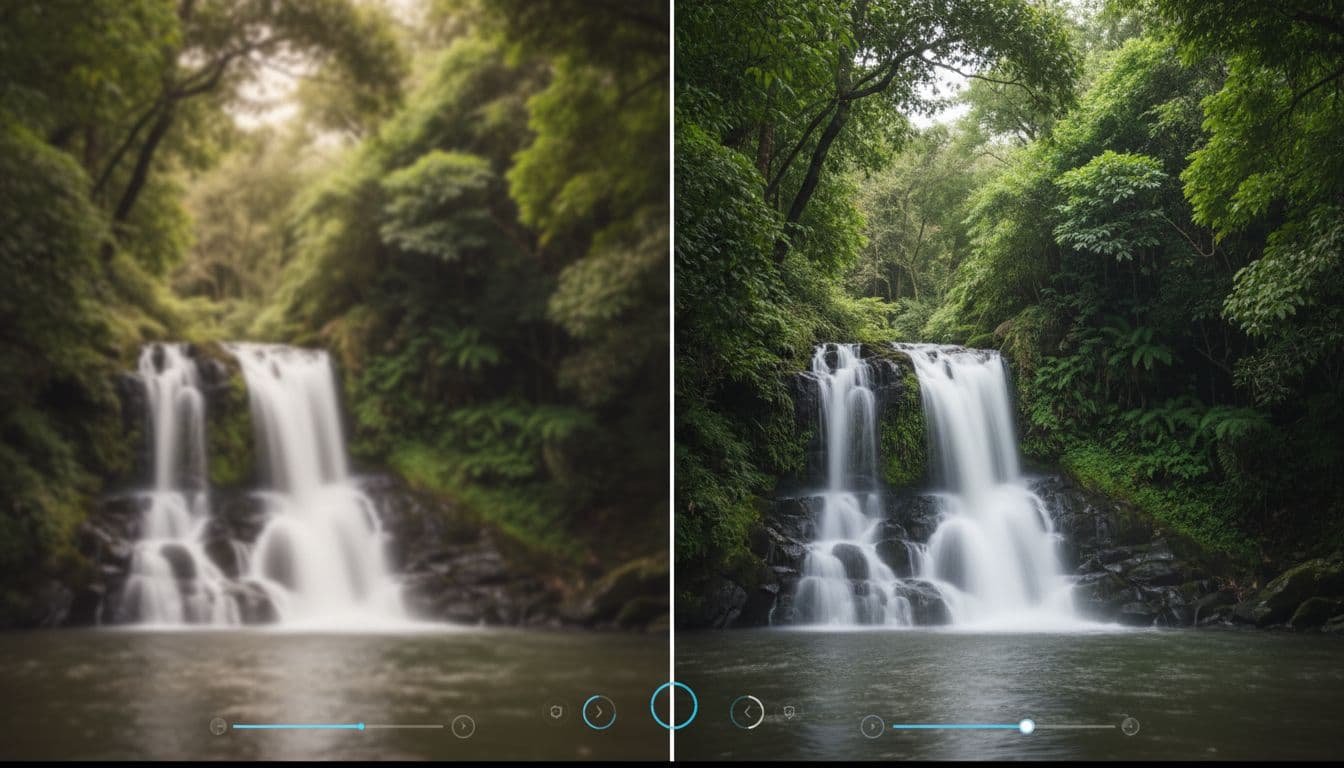
Image Generation: Quality, Choice, And Useful Controls
OpenArt AI gives you a gallery of image models, and swapping is instant. Juggernaut is a strong pick for realistic shots. Nano Banana shines for vivid, stylized art. OpenArt provides diverse artistic styles through these and other models, including ones powered by Stable Diffusion XL. You can also perform parallel generations, which is worth the extra credits when you want variation fast.
A few features stand out:
- Auto-Enhance: Polishes your text prompt before generation for better first passes.
- Prompt Adherence: Tightens or loosens how strictly the model follows your description.
- Aspect Ratio: Pick by output needs, like landscape for banners or 1:1 for social.
- Batch Size: Generate several images in one go to compare variations.
The output from top models looks convincing. Skin, lighting, and background detail hold up even at larger sizes, thanks to high-resolution image generation.
If you are new to how these models interpret text prompts and reference images, this primer helps: What is an AI image generator.
Built‑In Editing: Fix It Instead of Regenerating

Built-in image editing tools are where you save hours. Instead of rerolling prompts to fix small issues, you can repair the image you already like.
- Inpainting: Paint over a region, then describe what you want added or changed; this includes Sketch to Image functionality, which enables rapid modification based on visual input. Example, select a spot in the background and prompt “a flower pot.”
- Remove Tool: Highlight an object and choose Magic Erase. The fill algorithm matches the background more cleanly than a quick erase, and it leaves fewer artifacts.
- Face Tool: Change expressions on the fly. Swap to a wink, soften a smile, or adjust gaze direction. This is the stress reducer. No more regenerating an entire scene because one face looks off.
- AI Clothes Changer: This AI-powered clothing generator lets you swap outfits on subjects in your images with ease, expanding creative options beyond basic edits.
You can also upscale images to higher resolution, which is useful for print or full‑screen web assets.
Character Creation: Consistency Across Scenes
If you need the same character in different settings, this workflow is the reason to try OpenArt AI.
You have three ways to start:
- Description only
- One reference image
- Four or more images for best accuracy
Once the character is created, you can prompt new scenes while maintaining core features and generating high-quality photorealistic portraits. Two controls shape your results:
- Character Weight: Higher values keep more of the visual identity. Lower values give the model more freedom.
- Prompt Adherence: Higher values stick to your written description. Lower values allow stylistic interpretation.
The practical win is consistency without boredom. You can place the same character next to Niagara Falls, then shift to a cafe scene, and your features remain aligned, streamlining concept development for visual stories.
Pose Reference With A 3D Viewer
Need a specific stance? Use the pose editor. You get a 3D rig with templates. Set your camera angle, choose a base body, then pick a pose like “arms down.” The model places your character based on the view you see. Take a moment to align the camera front and center if you want a straight-on shot. This feature, part of OpenArt, provides the robust control capabilities inherent in ControlNet. Results look natural and expand your storytelling options.
Audio Studio: High-Quality Voiceovers With 11Labs
OpenArt’s Audio section is separate from video helpers. Here you generate voiceovers with the 11Labs model under the hood. You type your line, pick a voice by accent, gender, age, or use case, then tune two key controls:
- Stability: Lower for more variation, higher for consistent tone. A mid range around 0.6 works well for most scripts.
- Speed: Set the words per minute. A value near 1.0 sounds natural for narration.
The output sounds clean and polished, which removes a big bottleneck. You can draft, edit, and publish without recording your own voice each time.
If you prefer an external workflow, you can still export and edit elsewhere. But in many cases, you will not need to.
Pricing And Value: One Bill Instead Of Many
OpenArt AI keeps pricing straightforward:
| Plan | Monthly Cost | Who It Fits |
|---|---|---|
| Essential | $14 | Casual creators testing video and image models |
| Advanced | $29 | Regular users who need variety and 12,000 monthly credits |
| Infinite | $56 | Power users, agencies, or teams creating at scale |
Here is the real comparison. A Google AI Pro plan on its own runs about $21 per month, and that is access to a few models. Add Kling access or an 11Labs subscription and you are already spending enough to justify OpenArt AI’s higher tier. With OpenArt AI, you get all the core pieces in one place, plus upscaling, lip sync, and character tools you would otherwise have to string together.
If cost control matters and you want a single system for content creation, the Advanced plan is a sweet spot. You get strong models and enough credits to deliver real work every month.
Where OpenArt AI Wins
It enhances the process of digital art creation by delivering standout features across the board.
- Speed to finished assets: You move from prompt to polished output without juggling sites.
- Model variety: OpenArt, a robust AI art generator, offers Veo 3 for cinematic scenes, Kling for punchy motion, and a deep bench for images.
- Repair tools that matter: Inpainting, remove, and face edits save more time than you expect.
- Character consistency: Create once, reuse everywhere, and keep poses aligned with a 3D editor.
- High-res exports: 4K upscaling and 120 fps make the output usable in production.
Where Competitors Still Have an Edge
- Niche controls: Some single-purpose apps give deeper tuning for a specific model or effect.
- Ultra-long video: If you need long-form video with complex editing, you still need a non-AI editor alongside OpenArt.
- Specialized styles: A dedicated art model site may have exclusive styles or fine-tuned presets you love. However, users often leverage the platform’s Discord community for shared tips, and can consult the Prompt Book to find specific styles.
If your workflow needs a very specific feature from one model vendor, keep that tool around. For most creators, it covers 90 percent of production needs inside one platform.
Quick Start: A Practical Workflow You Can Try Today
- Write a simple text prompt. Describe the scene in one sentence. For better results, consult prompt examples.
- Choose Google Veo 3 for a realistic 5 to 10 second clip. Turn on Auto-Enhance.
- Generate, then upscale to 4K if you plan to publish. Using the platform’s Prompt Book can improve outcomes.
- Switch to Image, pick Juggernaut, and create a matching thumbnail.
- Use the Face tool to correct expressions if needed.
- Open Audio, add a 20-second voiceover using a natural voice at stability 0.6 and speed 1.0.
- Export everything and assemble in your editor, or stay in OpenArt AI for lip sync and quick trims.
You will get a complete package in under an hour, start to finish.
Verdict: Should You Switch?
If you juggle several tools today, OpenArt AI is a strong upgrade. The value is not just the price; it is the time saved moving from idea to publish-ready output. The model mix is competitive, the editing tools are practical, and the character system makes ongoing series easier to produce.
- Choose this AI art platform if you want one place for video, images, characters, and audio.
- Stick with single-purpose AI tools only if you need edge-case controls that your current app already nails.
Ready to try it with your next project? You can start building with the platform using this walkthrough link to start creating with OpenArt on Roboverse.