A bill stack grows quietly, then steals an afternoon. That’s why I like QuickBooks AI bill capture for beginners. It cuts manual data entry through AP automation, but it doesn’t remove judgment.
If I’m setting this up from scratch, I keep the first version simple. I connect banking, clean up vendor names, capture a few real bills, and review every draft before posting. As of March 2026, QuickBooks Online’s AI-assisted workflow can pull fields like vendor, date, and amount from a photo or upload for invoice capture, then suggest categories or matches inside the bookkeeping flow. While this guide focuses on QuickBooks Online in the cloud, accounts payable automation is also a priority for QuickBooks Desktop users.
What I prepare before I switch on bill capture
Before I capture anything, I check the boring stuff first. That’s what keeps setup from turning into cleanup, especially as I aim for smooth accounts payable automation.
I want admin access, the QuickBooks Online mobile app, and at least one connected bank or card account. Bank feeds matter because matching works better when transactions are already flowing in across accounting software like QuickBooks Desktop or QuickBooks Enterprise. I also decide who will review drafts. If nobody owns that step, AI just creates a faster mess.
Next, I handle supplier onboarding. If one supplier appears three ways, the system may suggest the wrong match. Proper supplier onboarding in your accounting software prevents those issues. I also separate bills from expenses and purchase orders. A bill is something I owe and will pay later. An expense is already paid, while purchase orders track commitments before invoicing. This distinction affects AP automation workflows in tools like QuickBooks Desktop or QuickBooks Enterprise.
Intuit’s bill entry guide for QuickBooks Online is useful here because that distinction affects the whole workflow, particularly for AP automation.
If I know the business will handle more than a light bill volume, I usually review broader best AI invoice processing tools for QuickBooks before I lock into a longer-term process with purchase orders.

How I set up QuickBooks Online AI bill capture, step by step
I don’t start with full AP automation on day one. First, I want a few clean drafts and a review habit.
- Connect banking first
I connect the main bank and card feeds inside QuickBooks Online. That gives the AI something to match against later through real-time sync for precise transaction reconciliation. - Install the mobile app
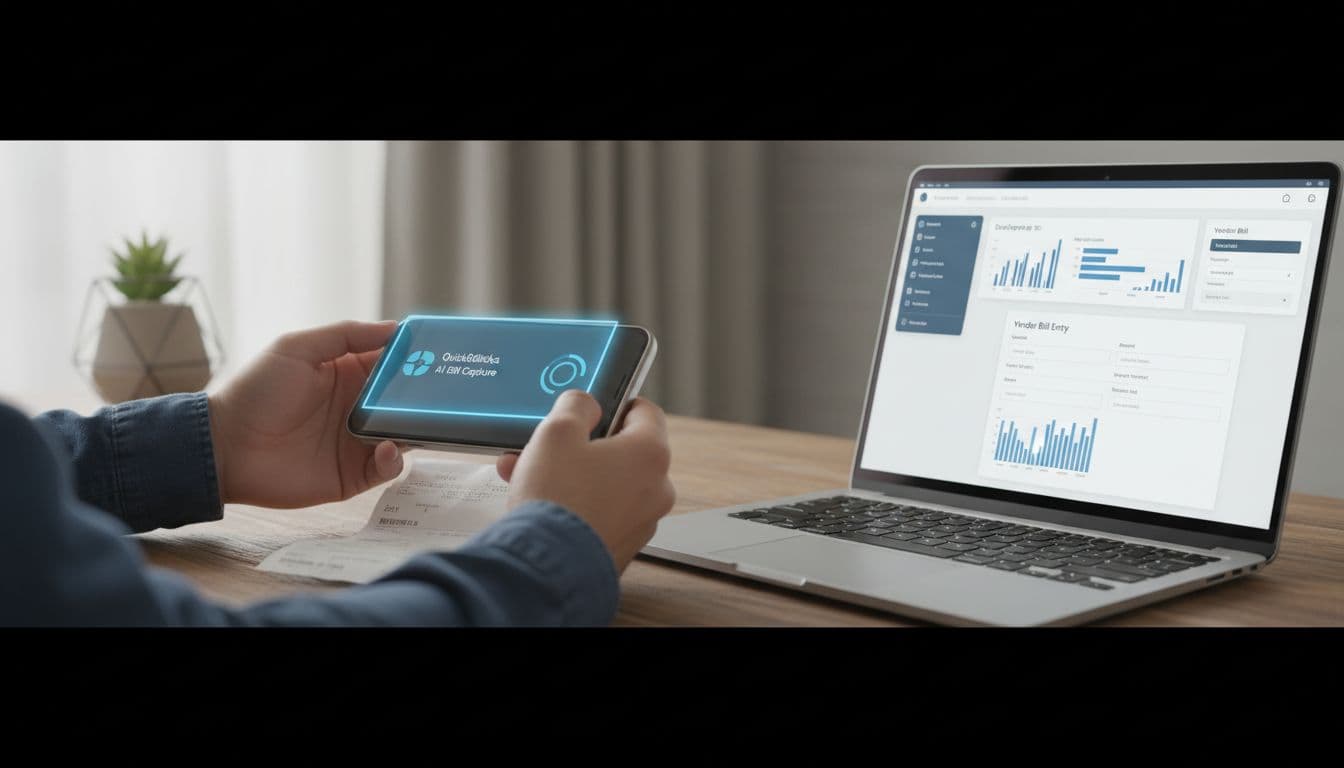
Then I sign into the QuickBooks app with the same account and allow camera access. This QuickBooks integration enables seamless connectivity between mobile and desktop, with the QuickBooks web connector as an alternative for local installs. Mobile capture is the fastest way to test the feature. - Capture one real vendor bill
I use a clear photo or upload a PDF for invoice capture. The AI leverages OCR for accurate data extraction, pulling details like vendor and amounts. Good lighting helps because bad source files hinder OCR performance and create bad drafts. - Review every extracted field
I check vendor, bill date, due date, total, tax, and account coding to GL accounts. If QuickBooks suggests a category, I treat it as a draft, not a fact. This review replaces manual data entry while ensuring data accuracy. - Save as a bill, not an auto-post rule
For the first week, I want reviewable drafts with an approval workflow. Later, I can add rules where they make sense to advance AP automation.
This quick table shows how I choose the intake method for invoice capture:
| Capture method | Best for | What I watch |
|---|---|---|
| Mobile photo | Paper bills and quick intake | Blurry images |
| File upload | PDF bills from email | Duplicate uploads |
| Manual entry | Edge cases and fixes | Slower data entry, potential for manual data entry errors |
After setup, I often add simple categorization logic with QuickBooks bank rules. I only do that after I see repeatable vendor behavior, enhanced by real-time sync.
How I keep captured bills accurate after day one
The real work starts after setup in our AP automation. Invoice capture is easy. Exception handling in the approval workflow is where the value shows up.
I create a small review queue in the approval workflow and keep it boring. Unknown vendor, missing due date, odd tax, duplicate total, or non-PO invoice, those all go to human review. I rely on automated invoice matching and three-way matching against purchase orders to flag issues. I don’t let the system post around gaps. That rule saves more time than any fancy prompt.
My rule: I review the first three bills from every new vendor by hand. This builds a solid audit trail.
I also standardize supporting documents for invoice capture. If bills come by email, phone photo, and shared drive, people will upload the same file twice. One intake path is better than three sloppy ones.
For adjacent workflows in our accounts payable automation, I like pairing this setup with AI receipt capture for QuickBooks Online for small spend and expense report automation for small teams when employee purchases start mixing with accounts payable invoice processing and payment processing. Those are different lanes, and I keep them separate for better spend visibility in our AP automation. Purchase orders help maintain that spend visibility too.
Quick FAQ on QuickBooks AI bill capture
Does QuickBooks AI bill capture replace manual review?
No. It replaces manual data entry. I still review vendor matches, dates, tax, and account coding, especially during the first few weeks, to ensure smooth AP automation.
Should I capture a paid vendor item as a bill?
Not usually. If it’s already paid via payment processing, I record it as an expense. Bills are for vendor payments I still owe, and timely capture supports cash flow management along with early payment discounts during payment processing.
Can I do the setup from my phone?
Yes, and I often start there; the setup works across QuickBooks Online and QuickBooks Desktop. The phone is the fastest way to test photo capture, but I still review drafts on QuickBooks Desktop when I want a fuller accounting view.
How many bills should I test before I trust it?
I like a pilot of 10 to 20 bills across a few vendors, which helps validate the QuickBooks integration and AP automation. That sample shows whether duplicates, taxes, and dates behave well enough for normal use, minimizing manual data entry long-term.
Let the workflow earn your trust
For beginners, the best QuickBooks AI bill capture setup is the one that stays easy to audit, whether you use QuickBooks Desktop or the cloud-based solution of QuickBooks Online. I start small, review everything, and only add rules after the first batch of invoice processing and vendor payments looks clean. If the accounts payable automation workflow saves time without raising rework, it’s doing its job.
This builds trust in your AP automation over time and scales to handle vendor payments efficiently in both QuickBooks Desktop and QuickBooks Online. A solid approval workflow becomes the final step in a healthy process.
Ultimately, this leads to long-term benefits like precise financial tracking through robust accounts payable automation.